|
• Use a good quality smooth yarn with good elasticity. Wool is the easiest. Cotton is not as stretchy and acrylics vary depending on their twist.
• The texture will show up better in lighter colours.
• If more than 2 cables are being planned, a cabled swatch must be made in addition to a swatch for the main garment stitch.
• Plan the position of the cables carefully so that they do not interfer with the shaping of the garment. If using a charting device, do a dry run and mark the position of the cables and the crossing rows on the pattern.
• If knitting a complex pattern, it is advisable to make a list of the rows and the actions that must be done.
• Use the row counter to help track of the crossing rows. Plan to work the cable every 5 or 10 rows.
• Try to coordinate the crossing rows of a cable on a sleeve with the increase rows.
• When working braided cables, knit an uneven number of rows between the cables. When the carriage is on the left, cable on the left side. When the carriage is on the right, cable on the right side.
• The needlebed can be marked with makeup pencils or china markers in different colours to aid in crossing the correct stitches when crossing cables alternately.
|
|
|
Side Stitches:
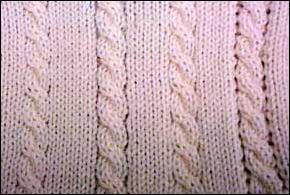
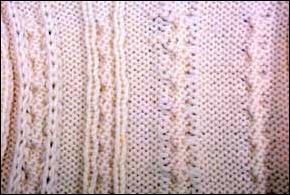
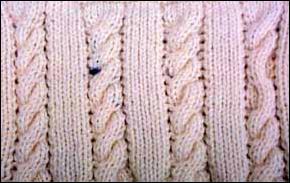
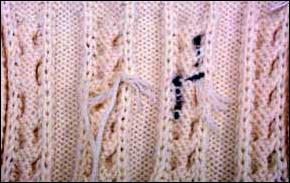
• The left-hand picture shows four different methods to work the stitches on the sides of a cable. On the left, the cable is worked within stocking stitch and looks flat. The next cable had the needle on either side left in non-working position and the third had the side stitches latched up afterwards; both have more definition than the first method. The cable on the right stands out more and has a much better appearance plus it is faster to work than the usual latched method; the side stitches are latched up but are tucked by picking up two bars and pulling only the top one through the stitch on the tool. The right-hand picture shows the purl side with the tucked side stitches on the left of the picture.
• After knitting the ribbing or hem, determine which stitches are to be latched up on the sides of the cables. Remove these stitches on pins or markers, leaving the empty needles in work position.
• Knit half of the rows between crossings before working the first cable. Before crossing the cable, drop the stitch on the each side of the cable. This extra yarn will help ease the strain of the crossed stitches. Pull the cable stitches to hold position and knit with the carriage set to knit down. If there is a lot of strain on the needles, move them to upper working position instead of hold.
• The side stitches must be latched up before the cable stitches are shaped or cast off.
• The latching should be done on the machine to maintain the tension. Begin to latch at the bottom with the stitch held on the pin. The ladders are reformed as purl stitches from the side of the work facing you. Every other bar can be tucked; this is faster and looks better.
|
|


